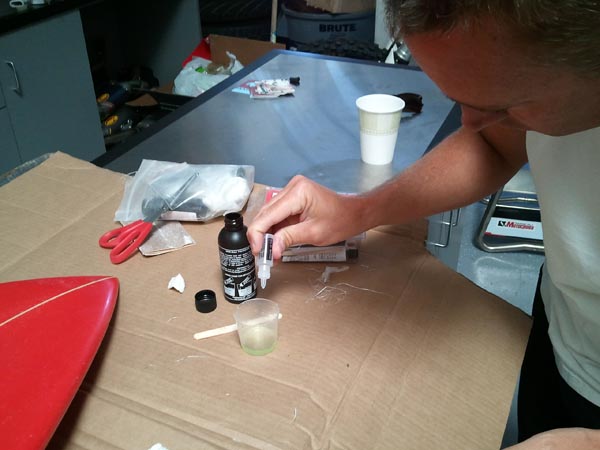
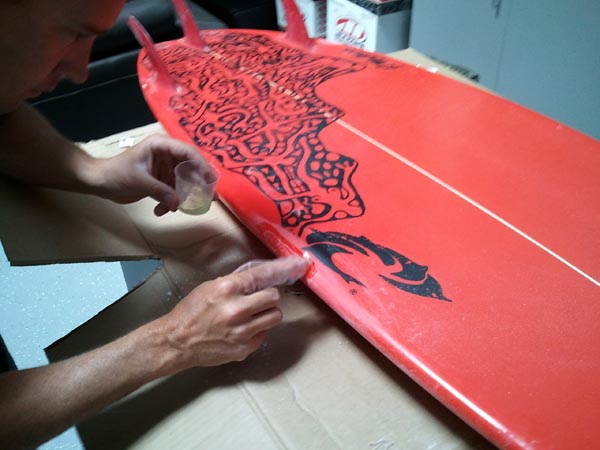
How to fix a ding properly. Thanks Transworld Surf….

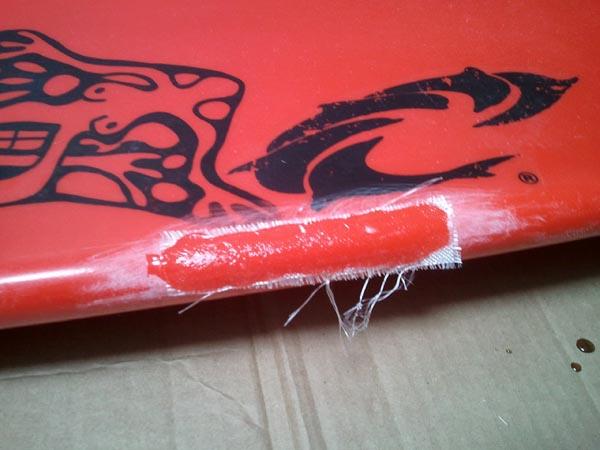
Even the smallest of cracks and dings (like the one above) can leak water and lead to the eventual demise of your precious stick. Wax, duct tape, and stickers are all half ass ways to “fix” a board. To do it right and ensure its longevity, follow these easy instructions. The board I worked on today just had a crack in it, but if left alone it would take in water and create a weak spot, eventually breaking where the foam was decayed.
*By the way, a good ding repair guy is like a plumber—they’ll always be in need.
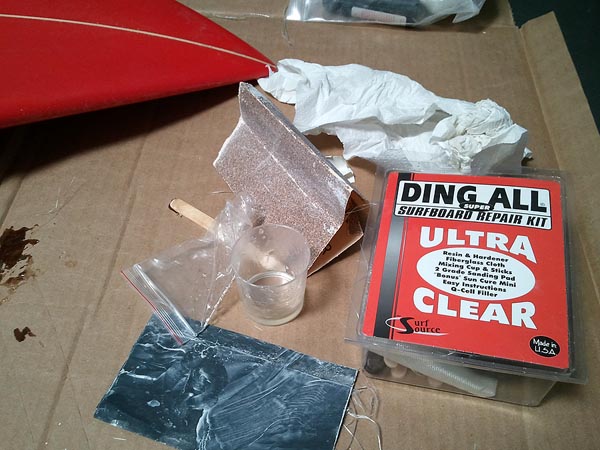
Step 1: Get set up. You’re going to need resin, catalyst, fiberglass, sandpaper, a razor knife, popsicle stick, cup for resin, and somewhere to work. I’d normally crack a beer for this whole procedure but it’s 10am and I’m at work.
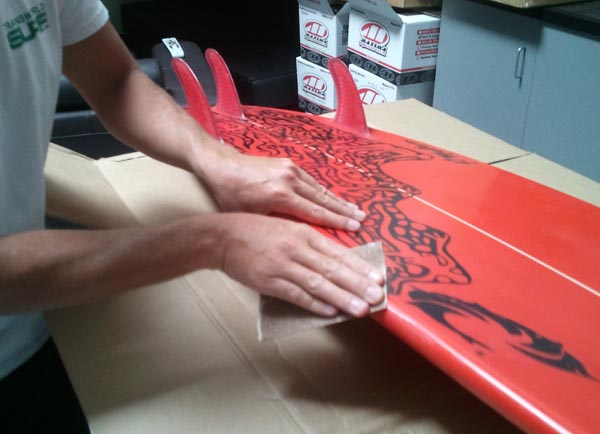
Step 2: Sand the ding with low grit sandpaper, today I used 60 grit. Don’t go all the way through the ding, just a good rough up is all that’s needed.
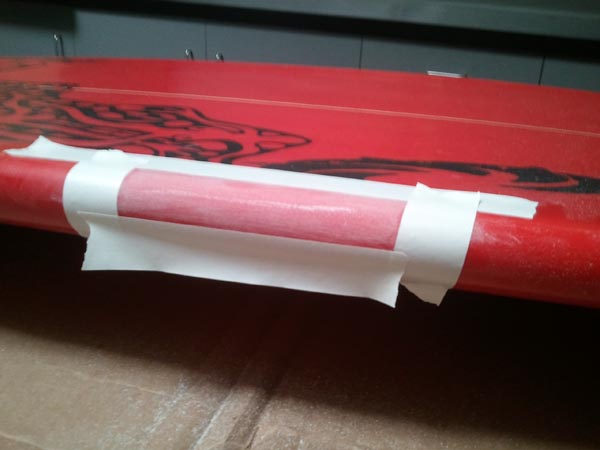
Step 3: Tape off the area leaving just a little bit of space around the ding. This helps keep the whole operation nice and tidy.
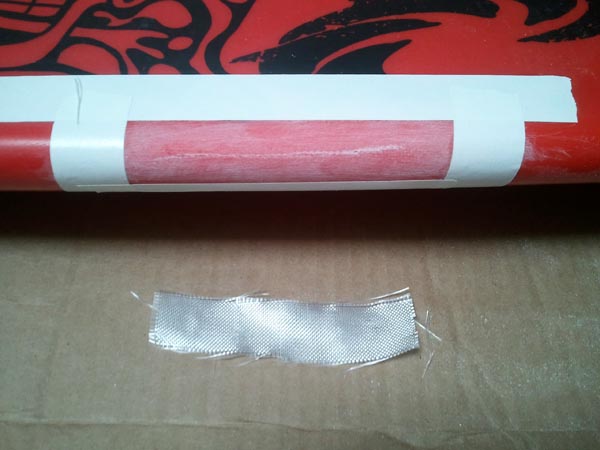
Step 4: Cut a piece of fiberglass to cover the ding. You’ll want it to cover the whole ding and the some, overlapping it by about ½ inch.
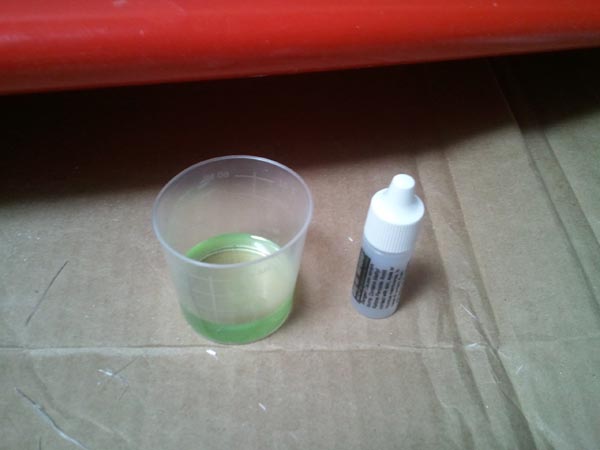
Step 5: Mix your resin and catalyst (resin hardener). I’ve found sun cure (UV) resin is easier and works just as well. Use it if you have it and there will be no mixing needed.
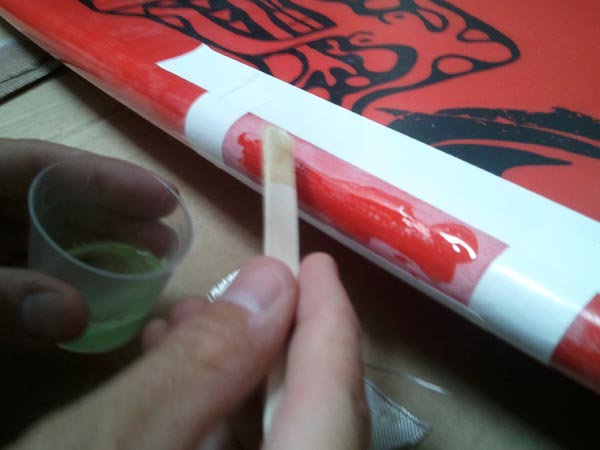
Step 6: Put a little dab of resin (that’s already been mixed with catalyst) onto the surface of the ding. This will help the piece of fiberglass you cut out stick to the ding and create a good bond. I put a bit too much on in the photo above, you only need a dab!
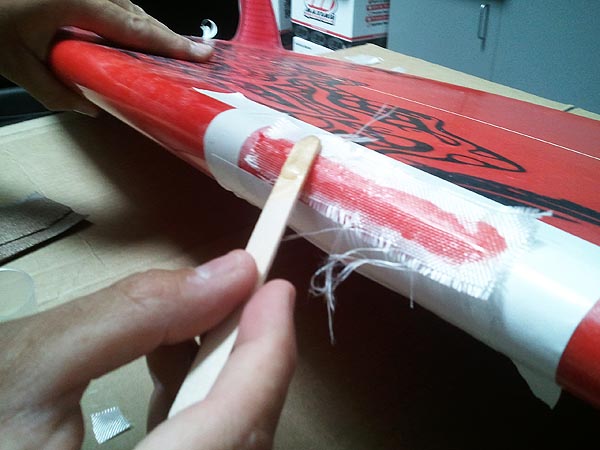
Step 7: Put the piece of fiberglass over the ding and apply resin on top of the fiberglass. Use a popsicle stick and apply just enough to coat it. Work the resin in with the popsicle stick.
Step 8: Let the resin dry and remove the tape. If you used a sun cure resin, put it outside in the sun for a bit. Otherwise, just wait. You’ll know it’s dry when it’s no longer tacky.
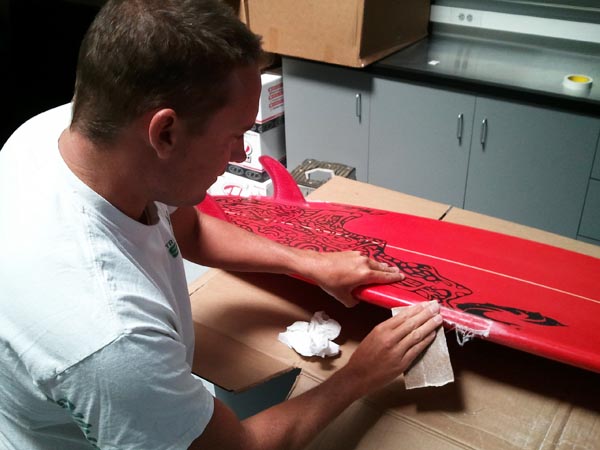
Step 9: Using low grit sandpaper, sand the hardened resin making sure to not go all the way through the newly-laid fiberglass. Get the area nice and even with no resin built up.
Step 10: Prepare your final coat of resin. Don’t use any fiberglass or filler, just resin and hardener. Once again, I’d recommend a “sun cure” type of resin.
Step 11: Put on your final coat of resin. Apply smoothly and evenly, a plastic bag wrapped around your finger works well for this.
Step 12: Once your final coat of resin is dry use a high grit sandpaper (I used 320 grit with a little splash of water) to finish. Again, don’t sand through your work, just take down the edges and lumps. You’re board is now fixed and water tight, go rip!


